This is an old revision of the document!
Table of Contents
Getting started with your Vizy camera
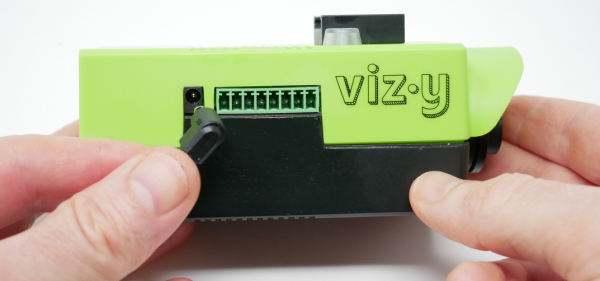
Start by plugging the Vizy power adapter into your Vizy.
Note: check that you're plugging the power cord into the logo side of Vizy, as shown below.
Plug the other end of your power adapter into an AC outlet. Vizy's power supply has US plugs, but can handle up to 240V, so it will work with European voltages. (If you're outside the US, only a simple plug adapter is required – no transformer is necessary).
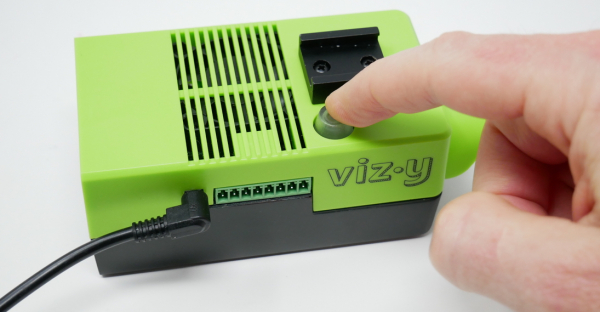
Turn your Vizy on by pressing the button on top. Just press and release – don't press and hold down.
When Vizy turns on it will beep and begin to initialize. The button will change colors several times, and eventually settle on a soothing light blue after about 45 seconds or so.
Vizy is now ready to accept connections!
Connecting to your Vizy
You interact with Vizy using a standard web browser running on your computer, laptop, or phone. But first, you need to establish a network connection. You have some choices here! Choose one of three options below:
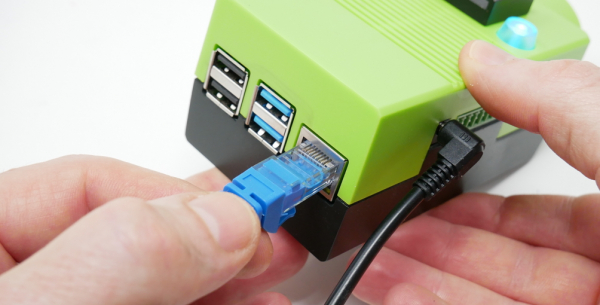
Option 1: Connect to your Vizy via wired Ethernet (100BASE-T, 1000BASE-T)
This is probably the simplest option, but it requires a wired network and a network cable. Just connect your Vizy to a BASE-T connector and it should self-configure (assuming your network has a DHCP server, which is usually the case.)
Option 2: Connect to Vizy directly over WiFi (WiFi Access Point Mode)
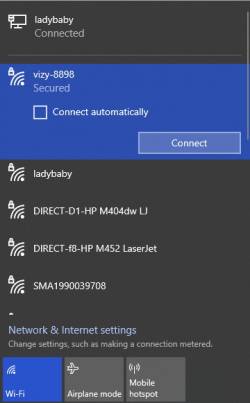
Vizy will become a WiFi Access Point (AP) upon initialization until you configure it differently. In AP mode, you can connect to Vizy directly. Bring up your computer/laptop/phone's WiFi network selector and look for a network named vizy-xxxx where xxxx is a semi-unique 4-digit number. Go ahead and select the vizy-xxxx network.
The password/security key for the network is 12345678. (Note: this is not the same as the PIN, which some network devices support.)
If something goes wrong, you can always reset the wifi connection by entering Safe Mode.
Option 3: Have Vizy connect to your WiFi network (WiFi Network Mode)
This requires some extra configuration steps. Since this is the Quick Start guide, we suggest configuring this later, but you're welcome to do so now if you wish.
Browser access
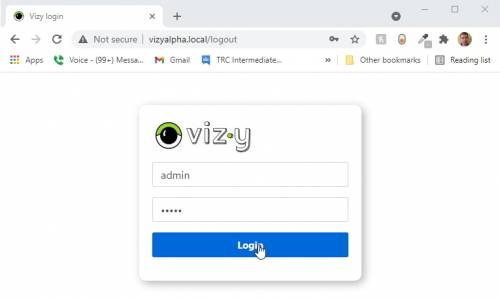
Once you are connected to your Vizy via one of the possible methods above, you can point your browser to http://vizy.local to see what your Vizy is up to. When you first visit Vizy, you'll be presented with a login screen:
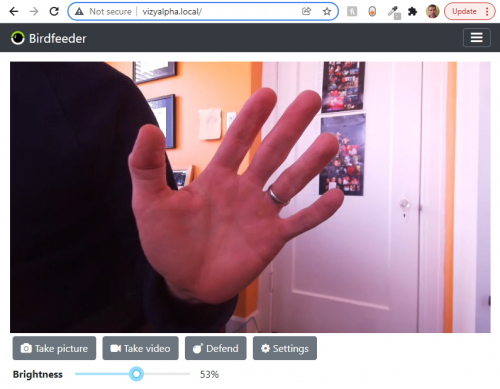
Type admin for both the username and password. Then click on Login. Once logged in you will be presented with Vizy's currently running application.
Safari MacOS
Note, if you are using Safari in MacOS, you will need to enable WebRTC.
Running apps
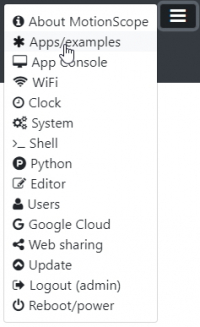
When Vizy initializes, it runs a default application (app). To configure which app is run, or to try any of the available apps, bring up the Apps/examples dialog from the ☰ menu in the top right corner.
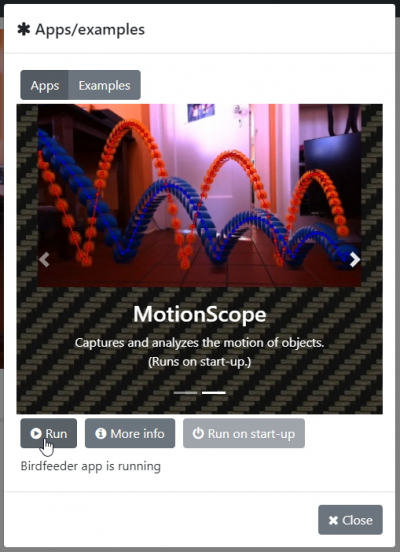
The Apps/examples dialog allows you to select from the different applications and examples that are available.
Using the left and right arrows, choose the App or Example that you want to run and click on Run. You can also select which program you want to run on start-up by clicking on Run on start-up.
Next steps
Before going any further with your Vizy, you should update the software. It's quick and easy and it ensures that you're using the most up-to-date code with the latest fixes, features, examples, and applications.
Depending on how you would like to use your Vizy, here are some next steps:

