Table of Contents
Getting started with power over Ethernet splitter
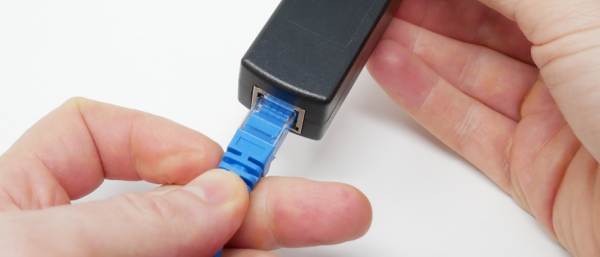
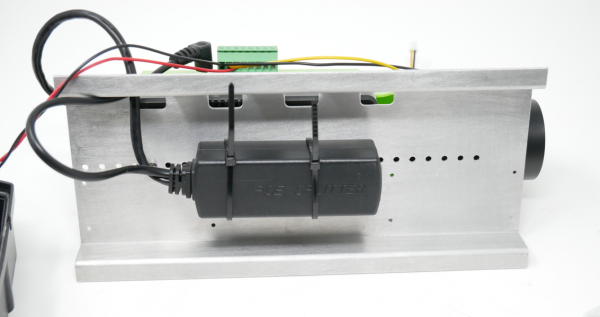
The power over Ethernet (PoE) splitter allows Vizy to be powered via a PoE-compatible Ethernet cable. The PoE splitter is particularly useful when paired with the outdoor enclosure, because you only need to provide one cable for both networking and power. The cable can also extend up to 100 meters (per the 1000BASE-T specification) from the networking and power source.
The PoE splitter provides a Vizy-friendly 12V at 1.0A.
The power source
There are several different products that will inject power into a 1000BASE-T ethernet cable, but perhaps the simplest is a PoE injector. The PoE injector should be:
- 25W (minimum)
- 802.3af compatible
- 1000BASE-T (gigabit) compatible
Hooking things up
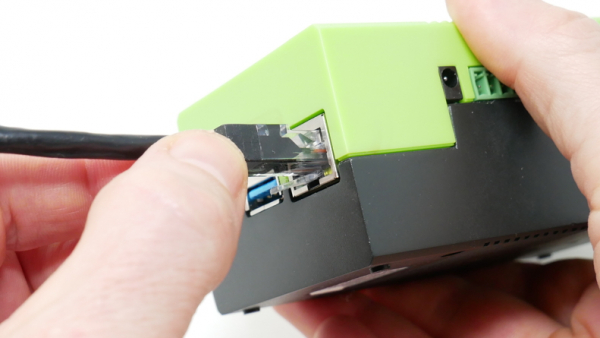
- Connect the PoE injector's network input to a hub or router via Cat 6 Ethernet cable.
- Plug your PoE injector into power and turn on (if needed).
Testing
Testing is straightforward. Make sure the PoE injector is plugged in / supplying power and turn on your Vizy. After Vizy initializes, you should be able to communicate with it over the wired Ethernet.
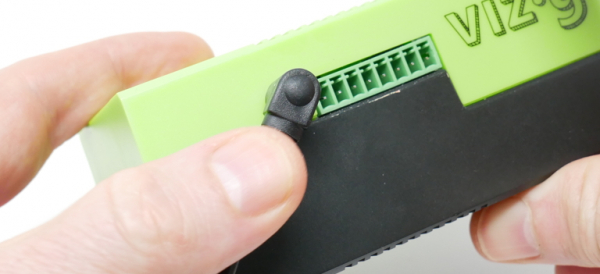
If Vizy doesn't power up, make sure your PoE injector is getting power. Also, check the power connector into Vizy.
If you can't communicate with Vizy, make sure your network is up and running. Try connecting your Vizy to the network directly using the same cable and the AC supply to power Vizy.
Using with outdoor enclosure
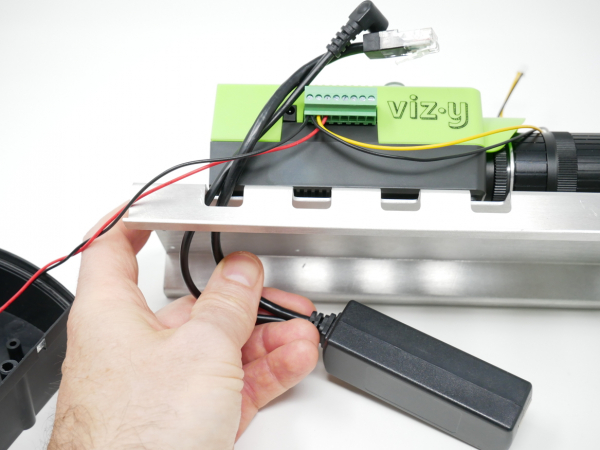
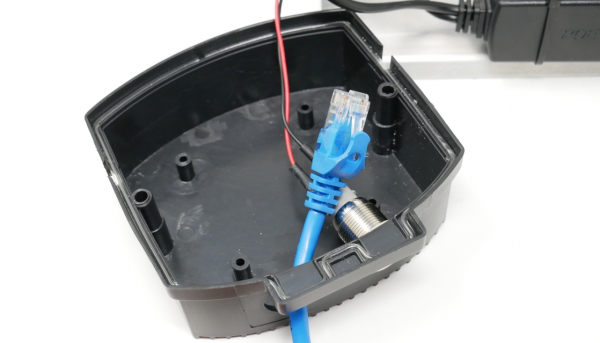
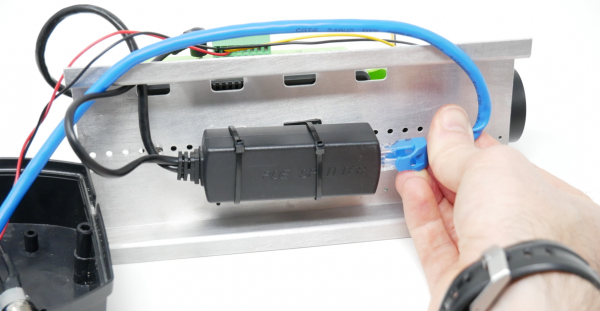
This section is meant to be followed in the context of the outdoor enclosure guide.
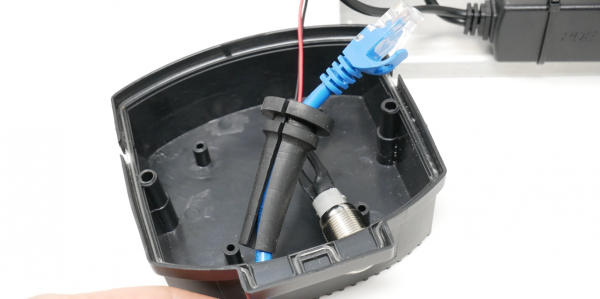
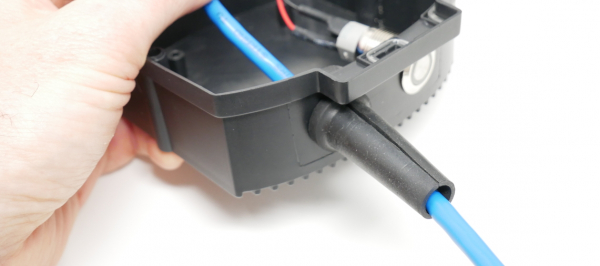
- Pull the wire seal through the hole in the back cap until it snaps into place. Note, this might take sufficient force. A good technique entails pulling the wire seal where it is split. Once you get part of the seal in place, it's easier to get the rest of the seal in place. Petroleum jelly can make things much easier but requires some clean-up.
- Close up as described in the outdoor enclosure guide.

