Table of Contents
How to make a treat dispenser
You can make a treat dispenser for your pet out of some fairly basic ingredients, the main ingredients being cardboard and a solenoid. It's pretty fun, and after you're done you can say “I made a robot to feed my precious <insert pet's name>, what did you do today?”
Here's what you will need:
* Some corrugated cardboard – it can be used/recycled * Sharp X-acto knife * White glue * 12V solenoid (like this one. If you use a different solenoid, make sure that it doesn't consume more than 1.75A @ 12V!) * A jar * Some patch wire * Some treats
Making the box
We'll start by making a box. We're making a gravity-fed treat dispenser, so we need a fair amount of height to keep things moving along and not get clogged. Our box is 7“x7” on the base and 8“ high.
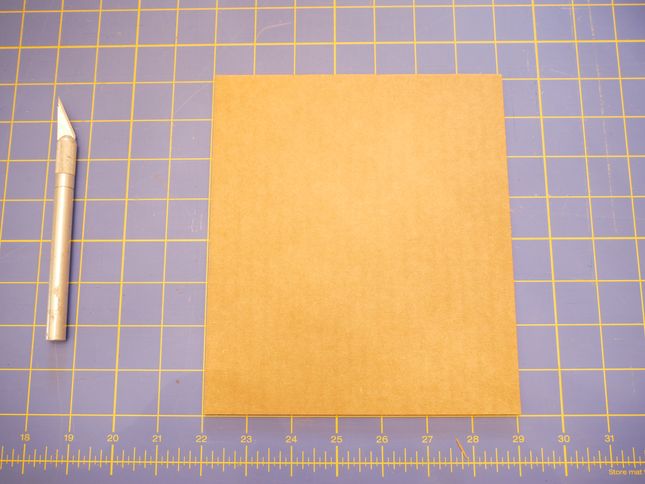
Cut out five 8”x7“ rectangles. We'll use four of the rectangles for the sides of the box. Save the extra for later.
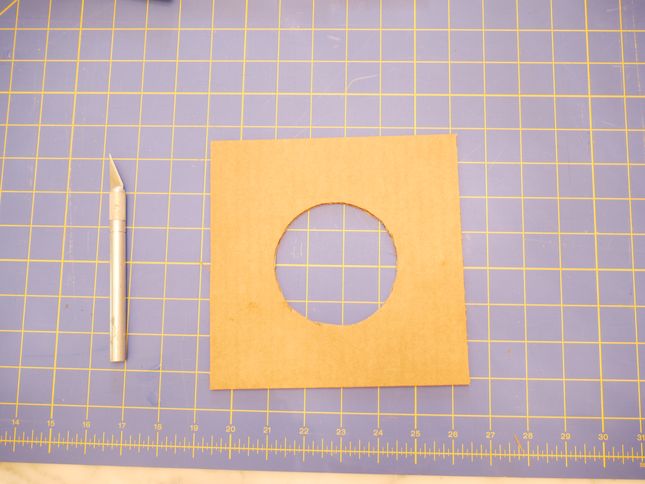
Then cut out the top. It will be 7 1/8”x7“. The extra 1/8” is there to accommodate the thickness of the cardboard.
Trace the top of the jar on the top piece of cardboard and cut it out.
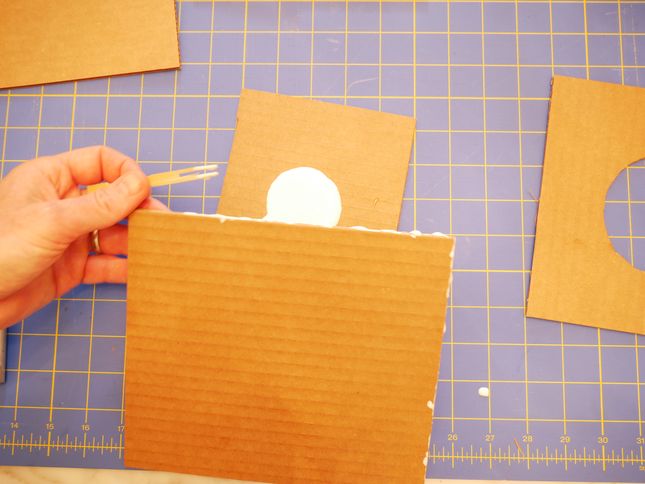
Now glue your box together. We found that using something to dab it on the edge of cardboard was helpful. Hold the pieces in place until they hold themselves. You'll be surprised how fast this goes, but be sure not to overdo the amount of glue.
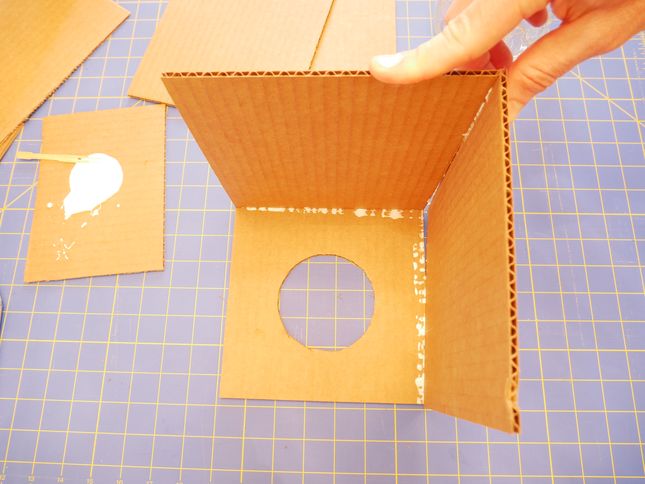
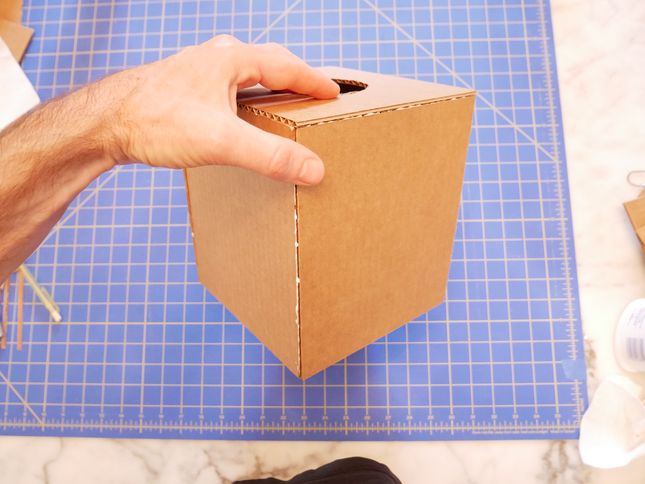
When you're done, you'll have a box that looks like this. It's surprisingly sturdy!
Making the funnel/value assembly
OK, next, we need to assemble the funnel and funnel/valve assembly. This will go on the extra 8“x7” piece of cardboard. Draw a line at 4“ on the piece of cardboard. This is where the funnel will stop.
Next, cut out your funnel pieces. The funnel needs to be large enough at the top to fit the bottle opening and small enough at the bottom to work with the “throw” of the solenoid (how far the solenoid moves when powered), which is about 0.4”. In general, making the opening at the bottom about 50% larger than the solenoid throw is a good rule of thumb. You want to make your treat dispenser clog-resistant, which requires a bigger hole – err on the side of bigger for the bottom opening.
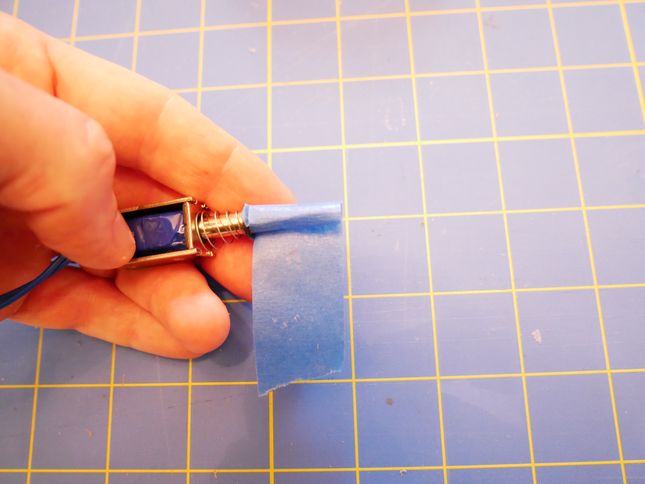
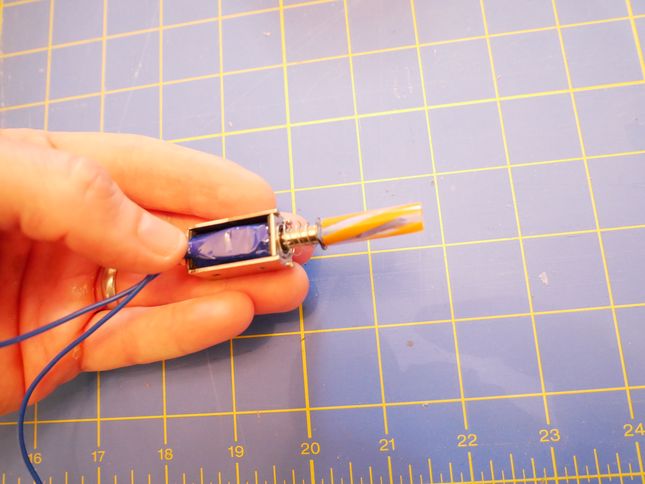
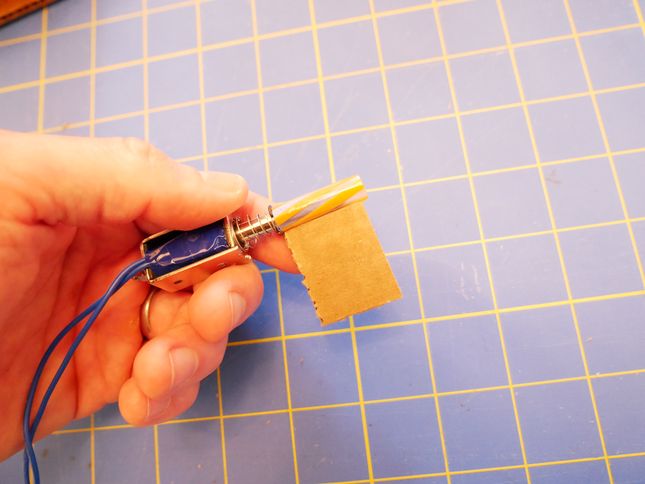
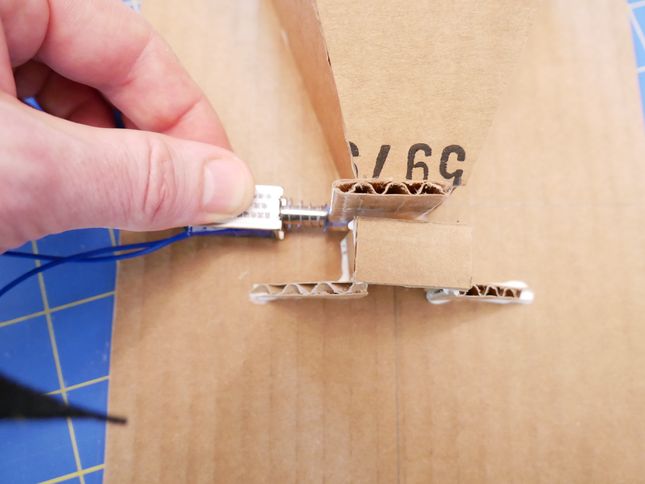
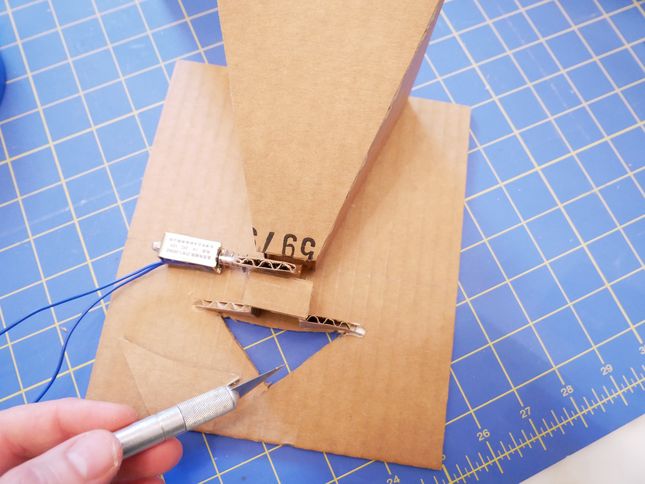
The solenoid will be our valve, and we want to attach a piece of cardboard to it – the “shutter”. The shutter should be bigger than the opening of the funnel to keep if from getting stuck. We extended the solenoid shaft with a straw and used some tape to attach the shutter to the straw (see below).
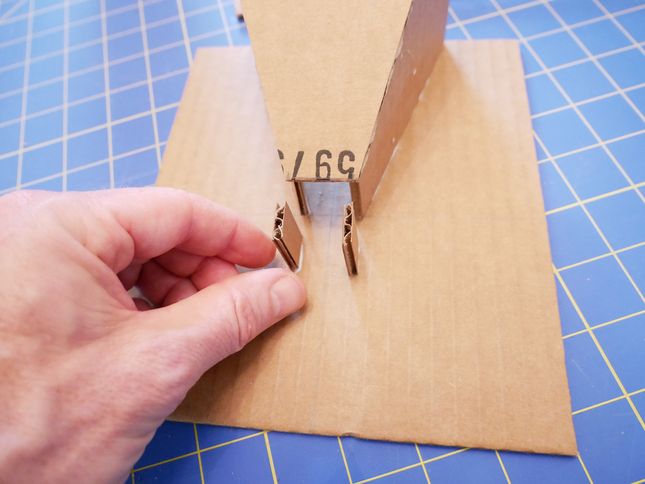
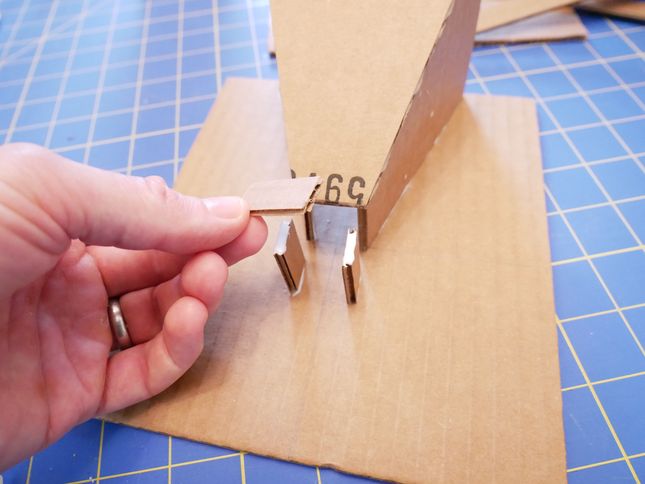
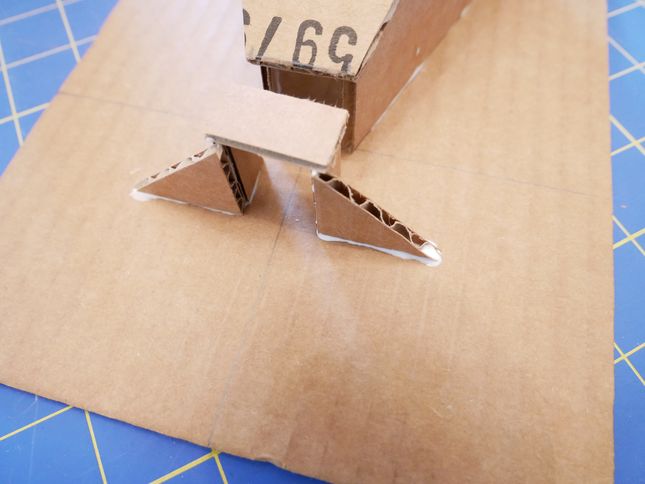
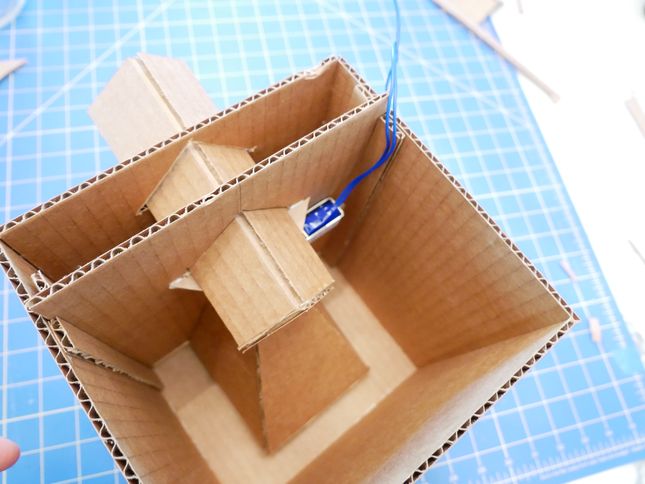
Next, add a structural member below the shutter to keep the shutter oriented correctly.
This structural member will require some extra gussets to strengthen it.
Next attach the solenoid to the cardboard using some machine screws, cable ties, or some double-sided foam tape. Test the motion of the solenoid and shutter by hand.
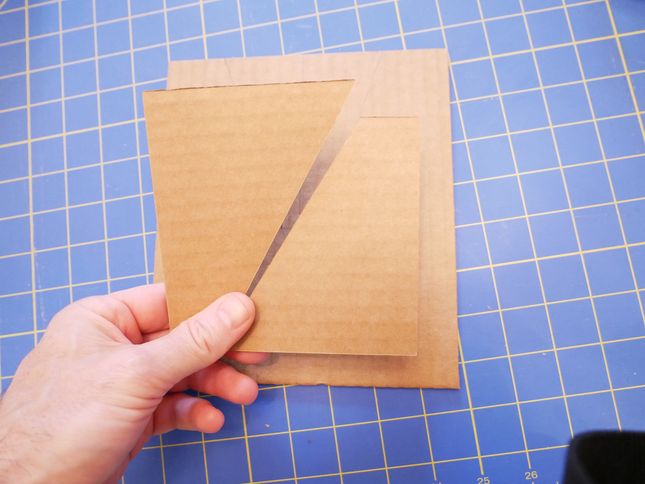
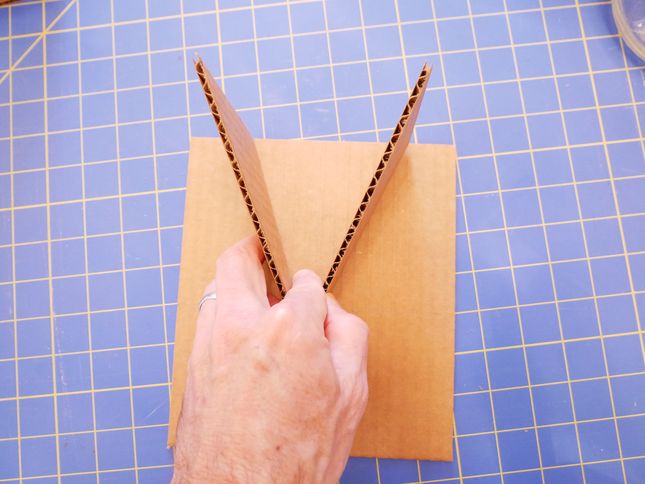
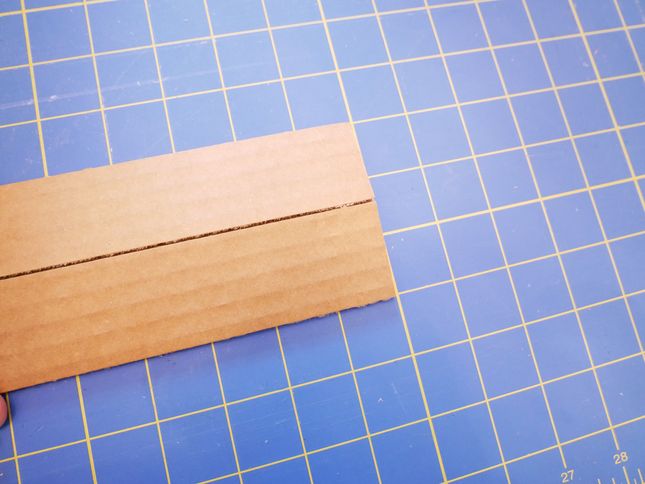
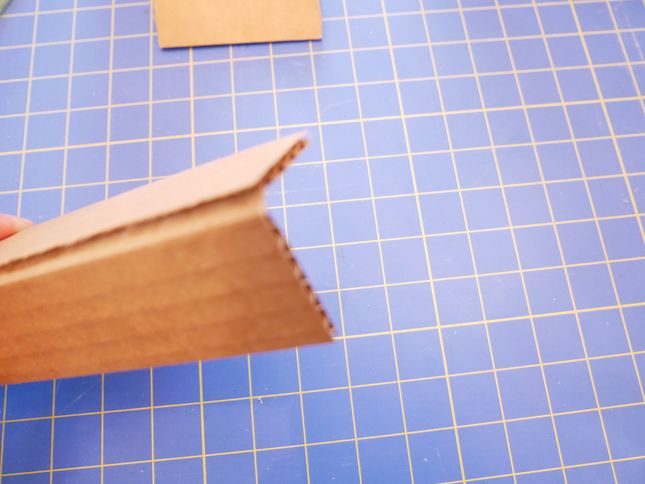
We now need to assemble a chute. Cut a 4“x10” piece of cardboard. Then cut the cardboard down the middle length-wise, but only cut through the first ply of cardboard.
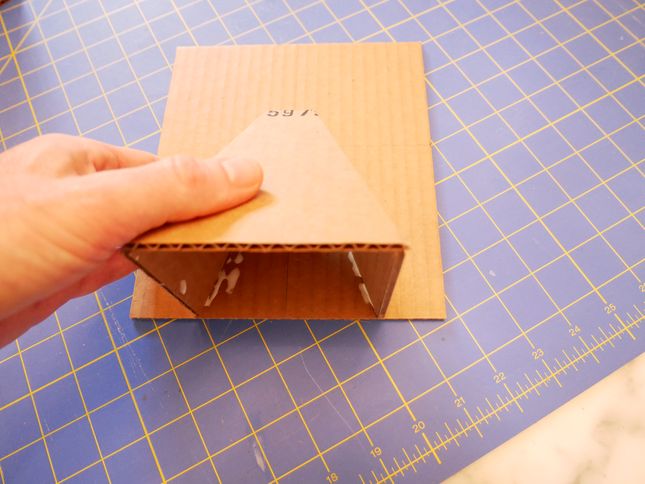
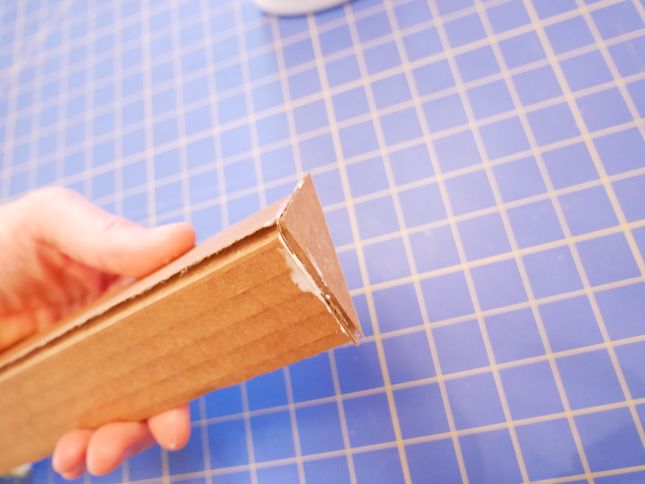
Fold the cardboard into a right-angle and glue a right triangle with 2“ legs to the end. Let this dry.
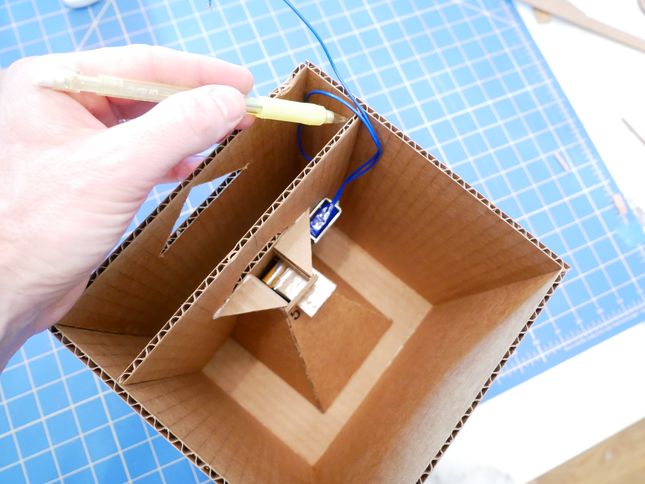
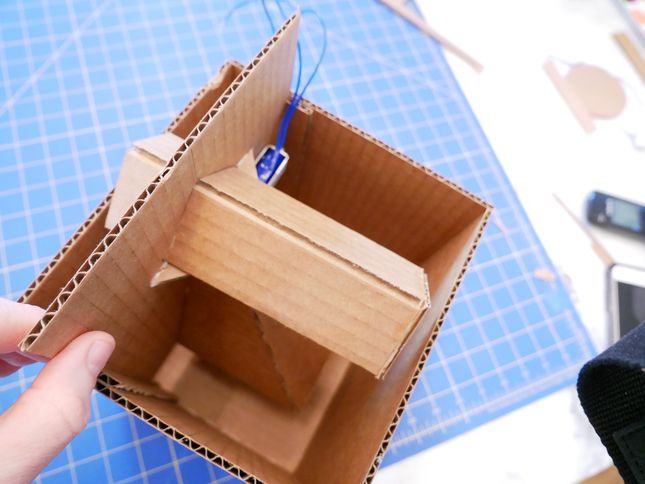
The funnel/valve assembly fits into a “track” in the box. Slide the funnel/valve assembly in the box and mark where you want to place the track.
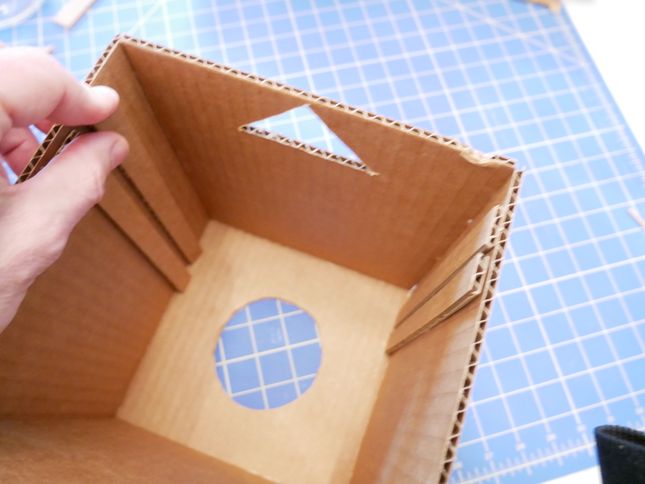
Cut out some strips of cardboard and glue them to the inside of the box to make the track for the valve assembly.
Next, cut a triangle to fit the chute in the funnel/valve assembly.
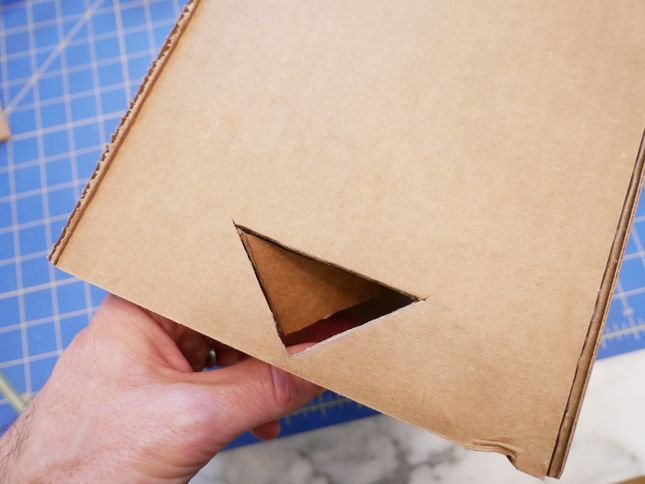
And cut a corresponding triangle on the box. You want the chute to have a decent amount of slope so that the treats will move down the chute via gravity. The triangle hole in the box should be lower than the triangle hole in the funnel/valve assembly so that this slope is created. Cut the triangle in the box with this slope in mind.
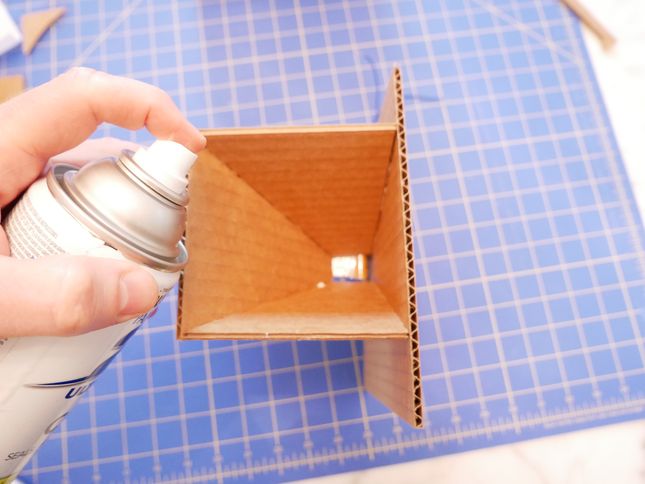
Treats can have oils that can leach into the cardboard. To prevent this, use some clear coat, or possibly paint to seal the cardboard. Only the funnel and the chute need to be protected.
Final assembly
Putting everything together is relatively easy. Slide the funnel/valve assembly into the box with the chute inserted and then push the chute through the triangle hole in the box before completely sliding the funnel/valve assembly into the box.
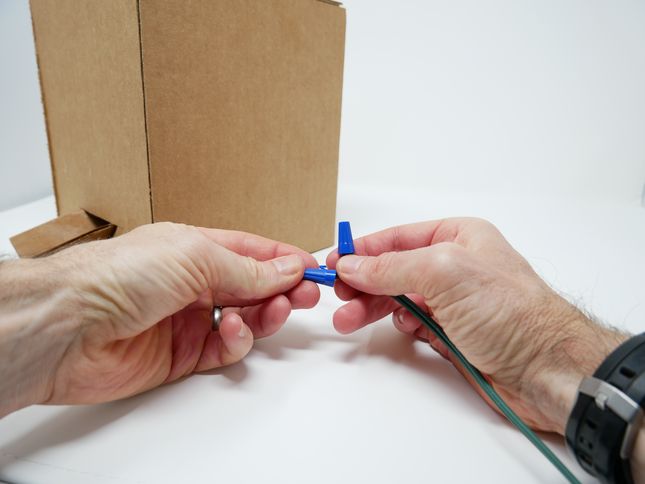
You can use some wire nuts to attach an extension cord to the solenoid, or just twist the wires together and use some tape to keep them from shorting together. The polarity doesn't matter.
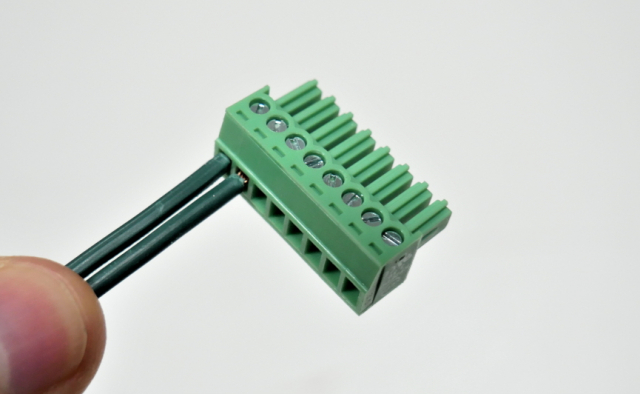
Then attach the extension cord to pins 1 (ground) and 2 (12V) on Vizy's terminal block. (We recommend these pins because the solenoid's operating current may exceed Vizy's maximum I/O current of 1000mA, whereas the 12V signal can switch up to 4A. You can verify that the solenoid you're using consumes less than 1000mA with an ammeter and then you can use one of the I/O signals to switch the solenoid if you wish. If you're using a larger solenoid that consumes more than than 1.75A @ 12V, it will likely cause Vizy's 12V power supply to brown-out and reset Vizy.)
And don't forget to plug the terminal block into Vizy.
Testing
Test the treat dispenser with the Pet Companion application by clicking on Dispense treat.
Or you can type in some simple lines of Python. Just type into a Python instance (you can bring up a Python instance by pointing your browser to http://vizy.local/python or by selecting Python in the Settings Menu.)
from Vizy import VizyPowerBoard
power = VizyPowerBoard()
You can then trigger the solenoid (open shutter) with:
power.vcc12(True)
and turn off (close shutter) with:
power.vcc12(False)
Note, don't leave the solenoid on too long as it will get pretty hot. In general, you won't need to power the solenoid very long – less than a second at a time.
Congratulations, you've built a treat dispenser for your pet!

