Table of Contents
How to Re-Image Vizy
Rarely, it may be useful to update Vizy the hardway but luckily it is an easy four step process then your Vizy is back on track.
Four Steps
1. Download latest Vizy Image from here Vizy Image
2. Retrieve Vizy's MicroSD card
3. Write the Vizy Image to the microSD using your preferred software or the recommended RaspberryPi Imager
4. Reinsert the microSD to Vizy and Update to latest version via Web Interface Update Vizy
*note*: Update when connected to reliable internet. Errors can occur when updating from unreliable internet, non-ethernet connections especially
Steps Expanded
Download Vizy Image
Click here to download the latest stable Vizy Image Vizy Image
This version of Vizy is often a few updates behind our latest. Once your reimaged Vizy is online, our first recommendation is to update using Vizy's Menu Update Vizy
Retrieve MicroSD Card
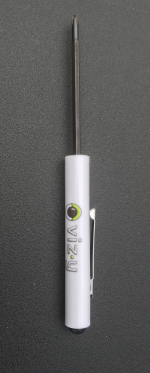
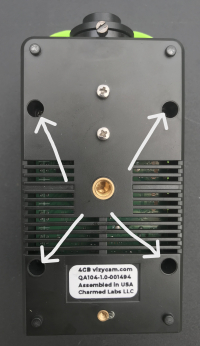
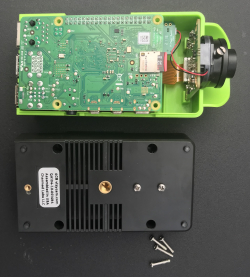
Unscrew the four screws securing the bottom part of Vizy's case. The Vizy screwdriver has the proper size phillips bit for this and it's recommended for use to avoid stripping the screw heads.
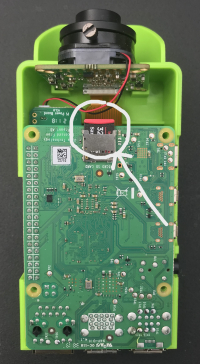
Carefully remove the microSD card
ReImage MicroSD Card
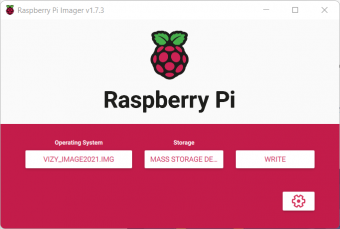
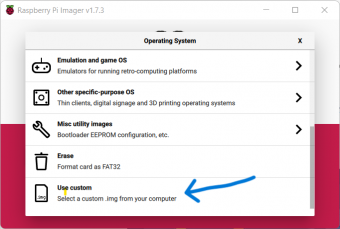
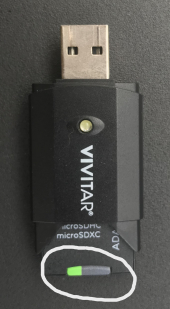
Prepare your microSD card to connect with your computer, and open your preferred Imaging Software. The RaspberryPi Imager is made to work with RaspberryPis, the micro-computer running Vizy, and has its own 'how-to' which might be helpful. Run the Imager, select 'Custom OS' to locate the Vizy Image file downloaded in step 1, and select the microSD as the storage target.
Once the image is finished writing, continue to the next step.
Reinsert to Vizy
Reinsert the microSD to Vizy and power-on! You should be able to connect to an older version of Vizy using 'vizy.local' in your browser. The last step is to Update Vizy.
A wired connection is recommended when updating Vizy as it is the most reliable and strongest connection.

