Table of Contents
Setting up Google services
This page is written for Vizy software version 0.1.105 or greater. The older documentation can be found here and (somewhat recently) here. Vizy uses several Google services such as Google Photos, Google Sheets, and Gmail to communicate to the outside world and share its findings. The main advantage of these is that they are all free and robust services that many of us are familiar with. They allow your Vizy to easily share data with you, such as pictures, videos, spreadsheets, files, etc. It also allows Vizys to easily share data with each other and other Vizy users.
Creating a Google account
It's strongly recommended that you create a new Google account exclusively for your Vizy camera instead of using a personal Google account. If you have multiple Vizys, they can easily share a single Google account. Using a separate account for your Vizy(s) will prevent any thorny security issues if the credentials are compromised for some reason (theft, loss of Vizy, etc.) Particularly, you should keep all personal information (passwords, credit card numbers, etc.) free and clear of this account. You can create a new Google account here. You will use the Gmail address of this account in the next sections.
Creating an API key
The Google cloud services (Photos, Gmail, Drive, Sheets, etc.) require an API key. This is a key that identifies the application that's making the API requests. You need to create your own key because there are restrictions that make it impractical for us to provide one for you. Fortunately, creating your own API key isn't too difficult. It only takes a few minutes, and once you've created the key, you can use it with multiple Vizys (Note, you could use the same API key with a few hundred Vizys, before daily access limits might be exceeded. But since there are many more Vizys in the wild, we can't provide this key for you, unfortunately.)
If you've already created an API key using our previous process, we apologize. Google recently disabled the “out-of-band” confirmation code mechanism that we were using, so we had to change several things – sorry about that. The good news is that Google is unlikely to change things again any time soon. ![]()
Start by going to the Google Console key creation page. If you're not logged into a Google account, it will ask you to log in. Use the account that you just created for Vizy. If it doesn't ask you to log in, make sure that you're logged in the account that you just created for Vizy. If you're logged in under a different Google account, log out and log in with the Google account that you created.
Next, follow along with the video below, pause as necessary. It's a bit of an adventure… ![]()
After following along with the video, you should now have a JSON file with your API key. It's name will look something like client_secret_<junk>.apps.googleusercontent.com.json.
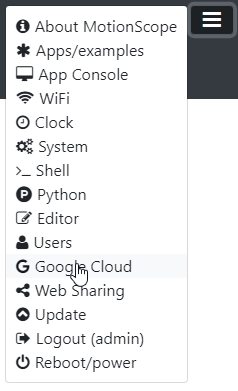
Bring up the Google Cloud from the ☰ menu in the top right corner of Vizy's browser tab:
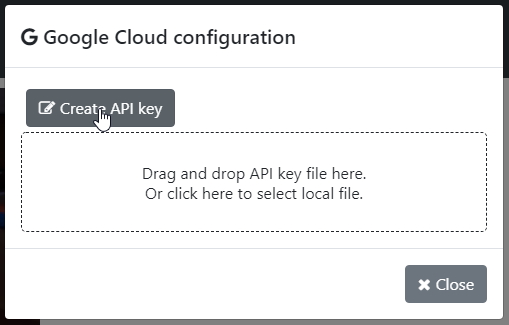
And either drag and drop the JSON file into the dotted-line area, or click to choose the file from your file system.
Authorizing
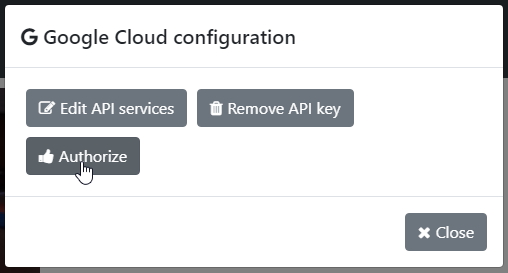
If Vizy likes the looks of your API key, you should be presented with the dialog:
Click on Authorize.
This will create a new browser tab, so if you have popups disabled, you may need to provide Vizy permission to bring up the new tab. Within the new browser tab, you will be asked which account you want to use – choose the Google account that you created for your Vizy. It will likely require that you type in the username and password.
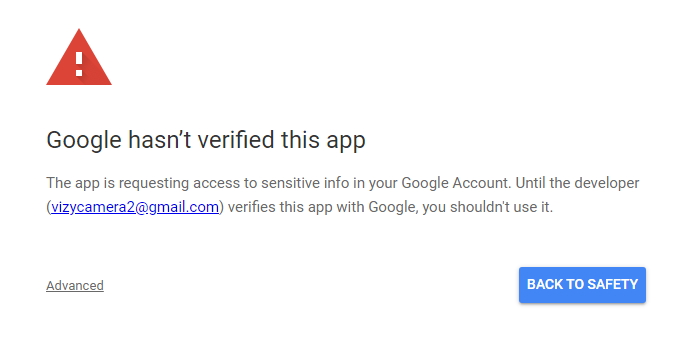
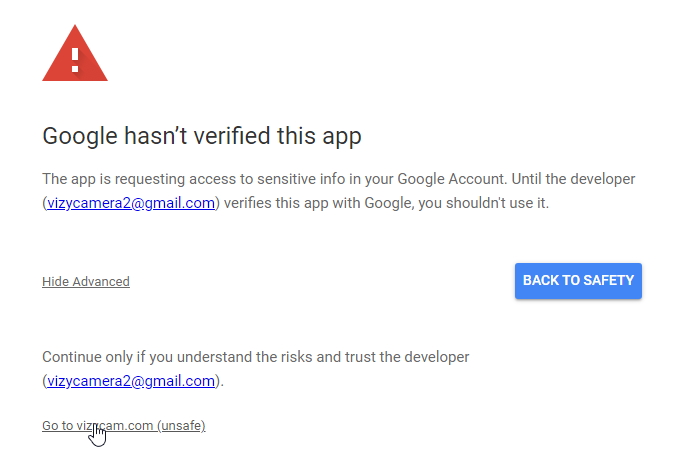
Next, you'll be presented with the somewhat foreboding message:
Click on Advanced, followed by Go to vizycam.com (unsafe) (This warning is telling you that you are about to give an unverified cloud application access to your account credentials. This is normally something you should avoid! But since it's an API key that you created and you're giving it access to a Google account that you created for Vizy, there's no risk. Or is there? Kidding… Just be sure you're using the Google account you created for your Vizy and all will be good.)
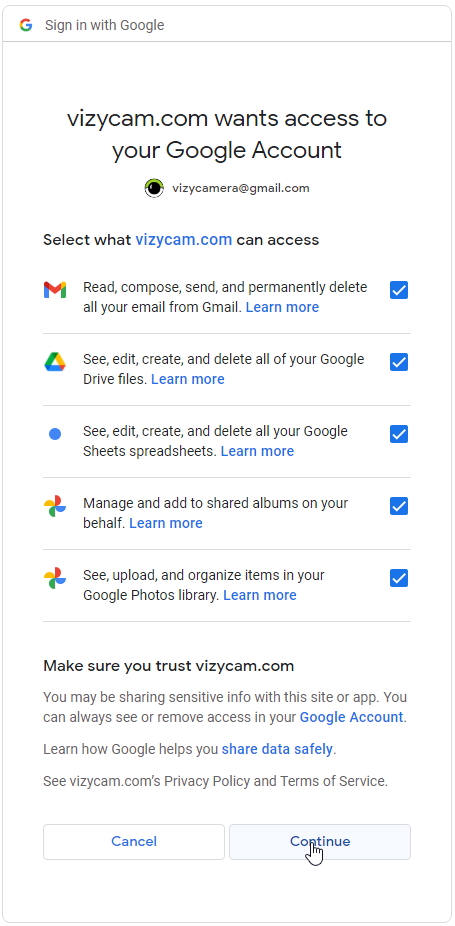
Next, check all the boxes, giving your Vizy access to everything it's requesting:
Then click on Continue.
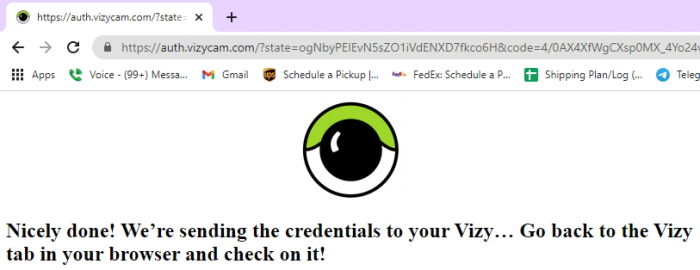
You should then be presented with the message below:
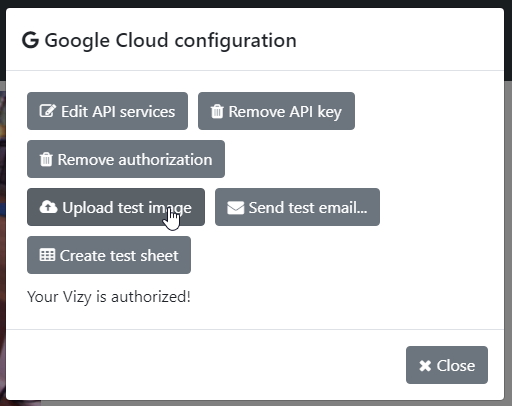
So go back to Vizy tab in your browser, and if everything has proceeded without a hitch, you can now test your Google API key and authorization by clicking on Upload test image, Send test email…, and/or Create test sheet… Note, photos/images will appear in Google Photos page of the Google account that you created. And emails will originate from the same Google account. (It's almost as if Vizy were alive, yes?)
If the tests are successful, your Vizy now has access to its very own Google account – nice work! You can remove Vizy's access at any time by clicking on the Remove authorization button in the Google Cloud dialog. And you can remove the API key by clicking on Remove API key. (So Vizy had better behave…)
